Oven cleaning is no joke! There could be years and years worth of hardened gunk and grime. In fact, some people would prefer to clean a public toilet using a toothbrush than to refresh their oven. Because of this, some resort to drastic measures and rely on nuking their ovens with a ton of harmful toxic cleaners.
Over-the-counter products used to clean ovens are loaded with toxic ingredients that can damage your skin, eyes and respiratory system. To give you a better idea of what you're dealing with, here are some of the more common ingredients in oven cleaning products:
- Butane: Commonly found in cigarette lighters, butane is known to cause drowsiness, asphyxia and cardiac arrhythmia when inhaled.
- Diethylene Glycol Monobutyl Ether: This is considered as a neurotoxin, a reproductive toxicant, and a cardiovascular and blood toxicant. Prolong exposure can cause damage to kidneys.
- Monoethanolamine (MEA): Highly corrosive, this chemical causes severe irritation and burns to skin and eyes while also irritating air passages and cause respiratory ailments. It is also known to cause damage to the liver and kidneys and high exposure can even affect the nervous system.
- Sodium Hydroxide: Extremely caustic, sodium hydroxide can cause severe burns to skin and eyes while also causing laboured breathing, coughing and shortness of breath.
Do away with these hazardous mixtures of chemicals when cleaning your oven. Lemons or bi-carb soda will do just as well in making your oven clean and gunk-free!
LEMONS

The citric acid in the lemon juice combined with di-limonene in the lemon peel makes a great mixture as a natural degreaser! This is perfect for light cleaning or for regular oven maintenance.
- Grab two lemons and slice them in half. Squeeze the juice into an empty baking dish. Throw the spent lemons into the dish together with the juice.
- Fill the dish up to 1/3 with water.
- Place the dish with the lemon juice and rinds in the oven.
- Set the oven for 30 minutes, baking at 120 degrees Celsius. For heavier grime build up, you may want to leave the lemon solution for at least 45 minutes. This process will allow lemon vapours that contain natural citric acids and di-limonene from the lemon rind to soften the grime for easier cleaning.
- Allow the oven to completely cool and set aside the baking dish with the lemon solution.
- Using a non-scratching scouring pad, remove the softened grime. Use a silicone spatula for larger clumps of grime.
- Dip a clean sponge in the dish filled with lemon water and rinse the inside of the oven.
- Use a clean cloth to thoroughly dry the oven.
BI-CARB SODA

For more serious oven grime build up, you may need to resort to something with a stronger kick. Here's what you need:
- 1/4 cup liquid dish detergent
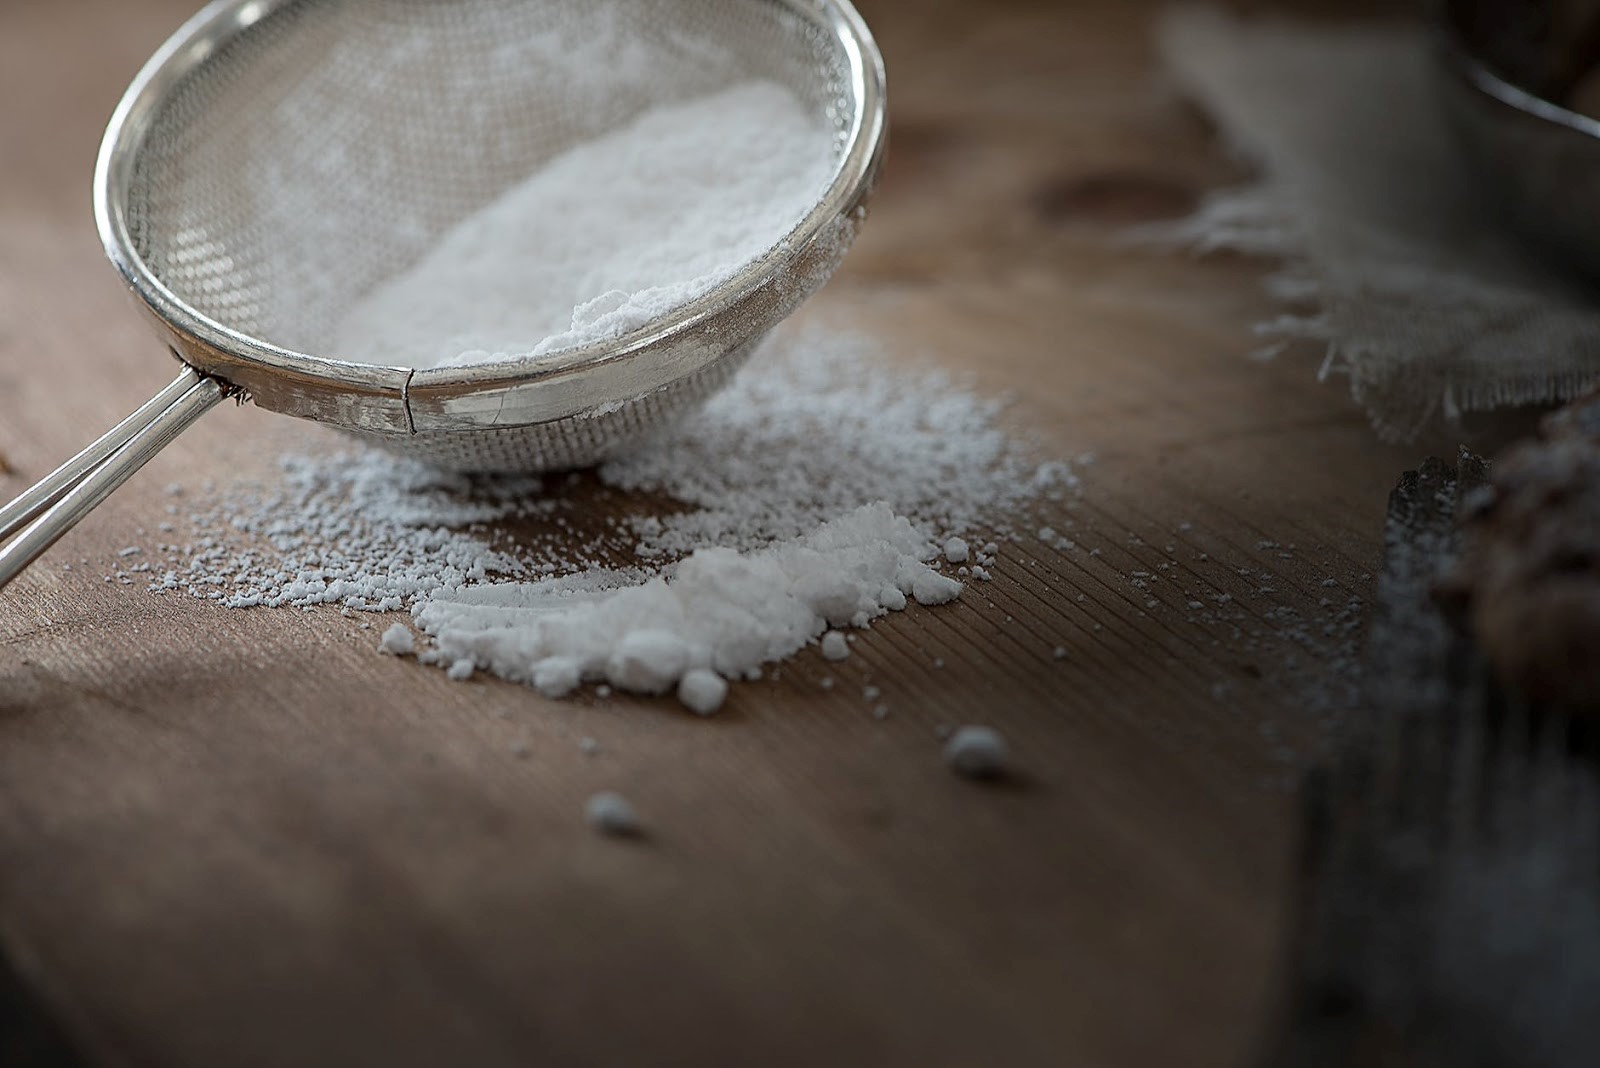
- 1 cup bi-carb soda
- 1/2 cup coarse sea salt
- Sponge
- Non-scratching scouring pad
- Warm water
- Spray bottle
- 1 Cup distilled white vinegar
- Towel or microfiber cloth
- In a bowl, mix the bi-carb soda, liquid dish detergent and salt to make a paste. If the mixture becomes too thick, just add a bit of water to make a consistent paste.
- Take out the racks from the oven and soak them in a bathtub with water and a few drops of liquid dish detergent.
- Coat the entire interior of the oven with a thick layer of paste, being careful to pay extra attention to heavily grimed areas. Let the paste dwell for several hours, preferably overnight. Meanwhile, look for alternative ways to prepare dinner.
- After several hours, or the next day, dip a sponge in warm water and start wiping down the bi-carb paste. The grime should come off together with the paste. Scrub hard-packed gunk with a non-scratching scouring pad if necessary. Keep wiping until all the grime has been removed.
- Transfer the distilled white vinegar into a spray bottle and spray the oven to rinse out any paste residue. Wipe dry with a clean towel.
- Use a non-scratching scouring pad to scrub off the racks soaking in the bathtub and towel dry.
- Replace the racks in the oven and you should be ready to bake!
SUBSCRIBE TO OUR NEWSLETTER
Sign up for email promotions, tips and special offers.


